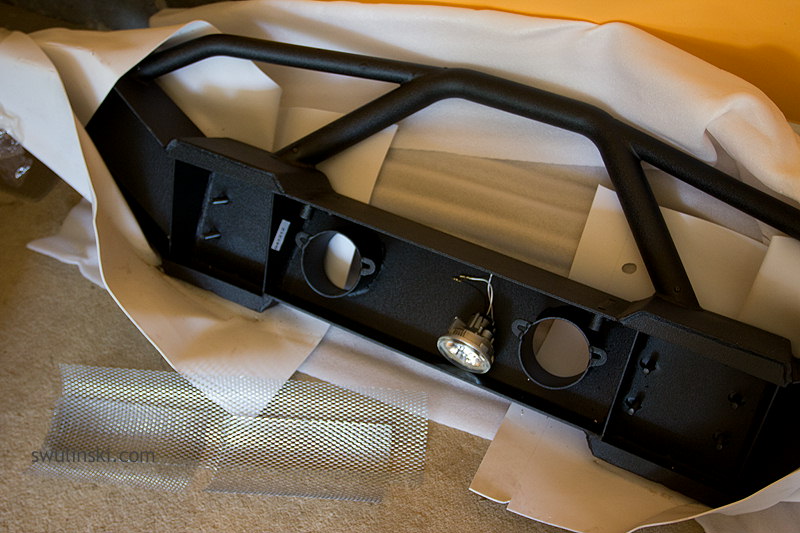
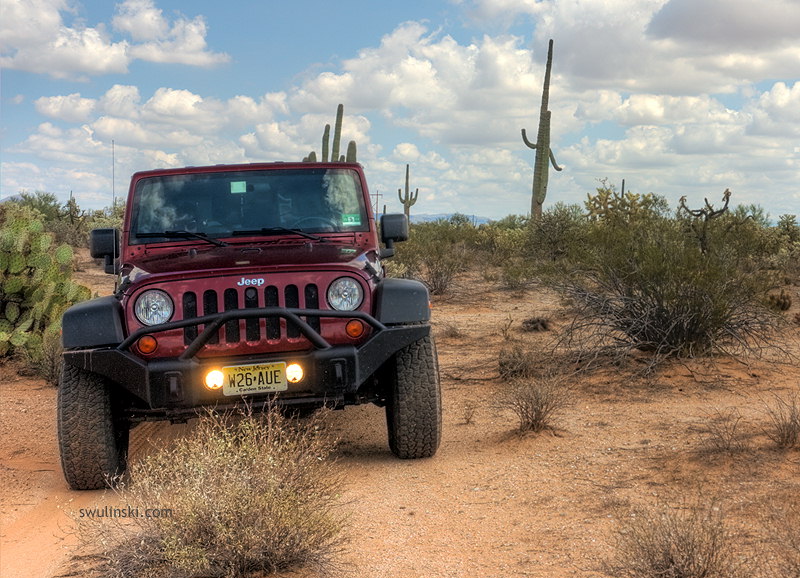
Front Bumper
Factory plastic bumper covers are not very durable in most of today's cars. A gentle contact with an obstacle can cause a dent. Much better protection is required for a 4x4 vehicles. Driving in the Third World can be dangerous sometimes. Even a small accident or collision with an animal can leave vehicle inoperable. This is why a solid, frame-mounted bumper that protects the radiator and headlights from impact is required. I chose Rampage Recovery Bumper in black textured finish. It is a full width steel bumper with a winch mounts and winch guard (bull bar). It features 4-inch openings for additional lights.
Parts used:
- Front Recovery Bumper Rampage 88510 powder-coated (weight 123 lb / 56 kg)
- Lights: H3 55 Watt HID White Halogen + LED Accent Lights
- Galvanized steel gutter protector
- 18 AWG wire
- Split Loom Tubing
- Waterproof Relay
- Waterproof Fuse Cover
- Mini Round Rocker Switch x 3
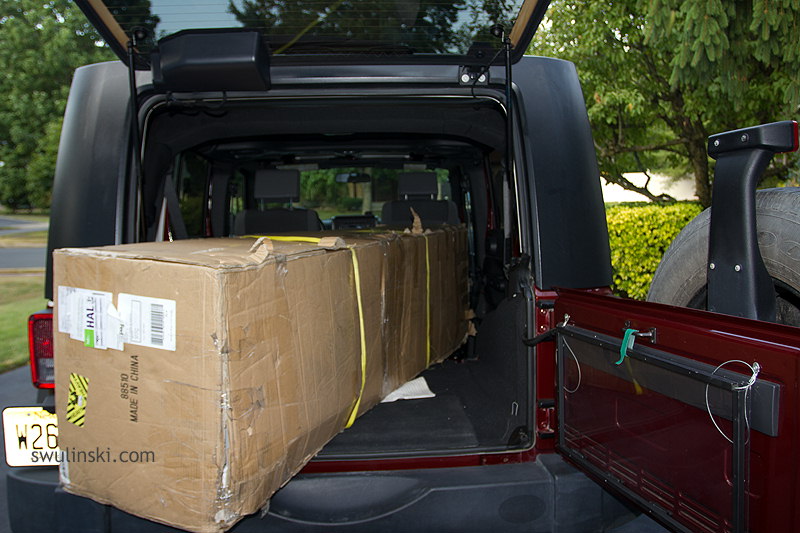
Rampage front bumper installation is not so difficult. First, you must remove the plastic front valance panel (air dam). Then remove eight original bumper nuts and the stock bumper slides freely. To raise quite heavy new bumper I used the two containers, on which I leaned new bumper. This way, bumpers bolts were close to the holes in the frame. I moved bumper horizontally into place and tightened the nuts.
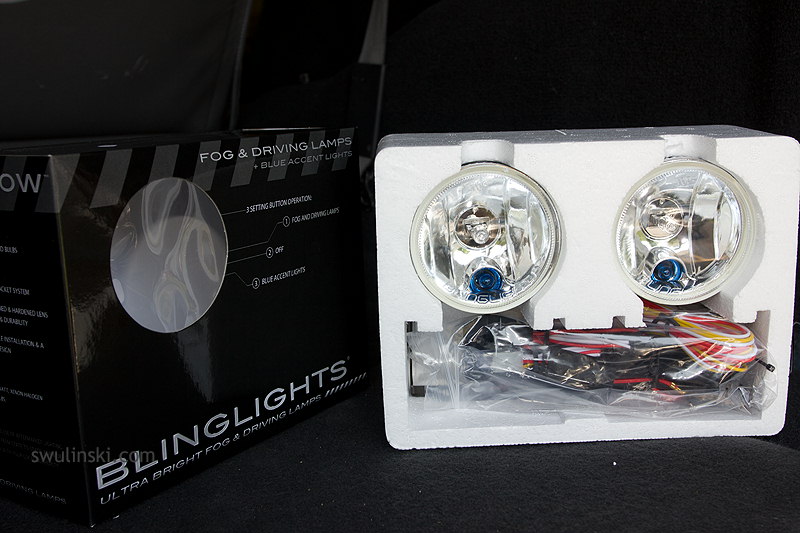
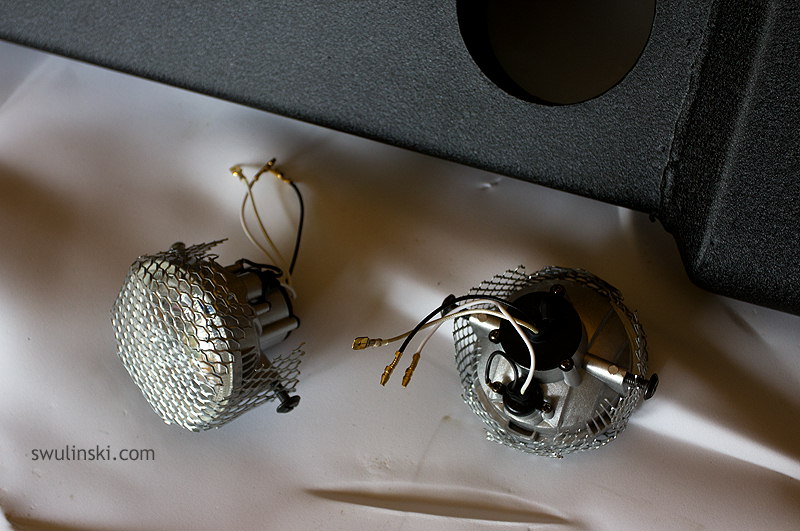
More interesting was the installation of additional halogen lights in the bumper. The set of lights I bought came with glass lenses. In order to protect them against the rocks I used steel gutter guards. I cut them in the right size and painted in black. This is a great cover for lamps mounted in the bumpers holes. A set of halogens contained all the necessary wiring harness. I decided to change the relay and fuse cover for the waterproof type, just in case.
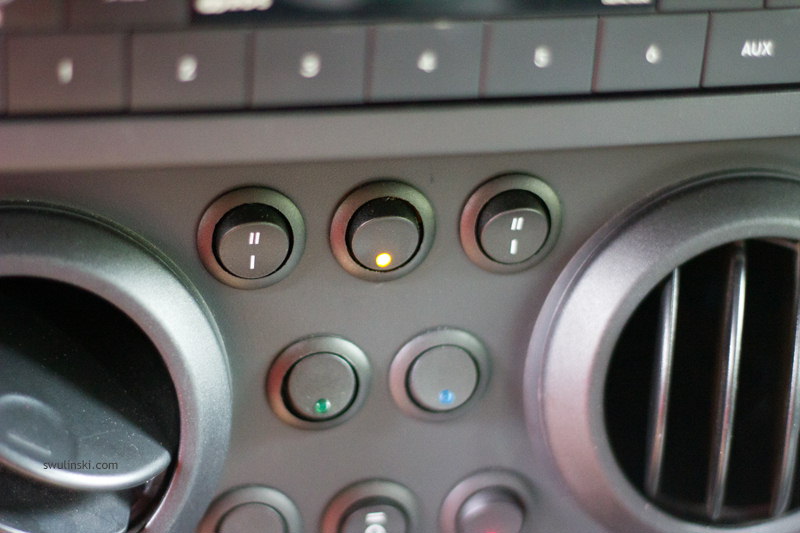
Halogens switch located is in the front console. In fact, my new lights have three switches in the top row. The ON/ON switch on the right provides the switched power from the ignition (position I), or continuous power from 12V outlet (position II.) It is convenient when the daily lights go off the moment the key is removed from the ignition. On the other hand, if necessary, the lights can be turned on without a key in the ignition. The center switch ON/OFF with a LED indicates that the lights are turned on and allows turning them off completely. The third switch on the left allows switching between LED Accent and 55 Watt halogen lights.