Auxiliary Tank
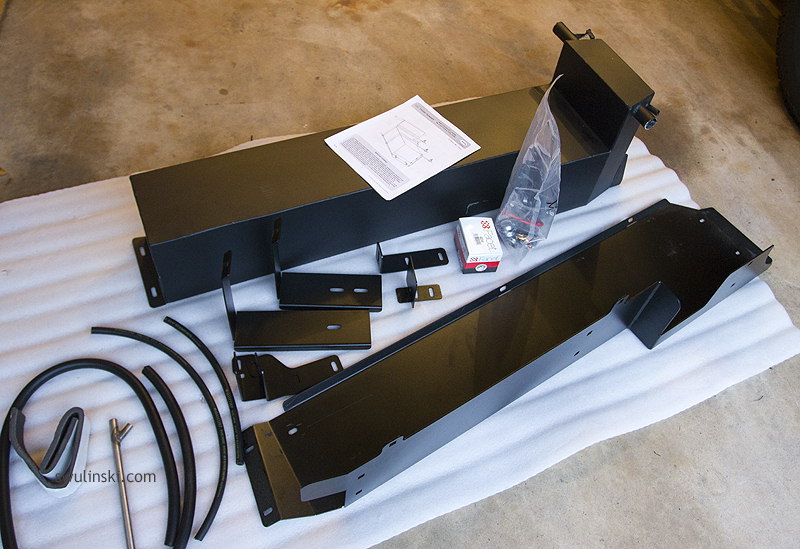
Parts used:
- Front Runner Jeep JK Auxiliary Tank (12.68 gal / 48 l)
- Purejeep EVAP Canister Relocation Kit
- Deutsch 2-pin Connector Kit
- 14 AWG wire
- Split Loom Tubing
Weight added: tank 65 lb + pertol 106 lb = 171 lb / 78 kg
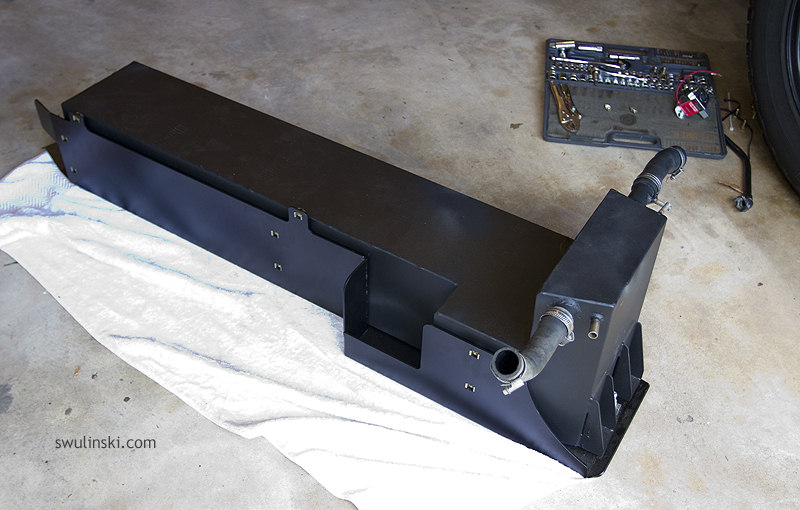
I decided to purchase the Front Runner auxiliary fuel tank for Jeep JK. It is made of stainless steel and has 12.68 gal / 48 l capacity. When combined with the OEM tank, there is so much gasoline that my Jeep has almost 620 miles / 1000 km range on highways. That gives a decent distance when driving back roads. A new tank has the exact same clearance as the OEM one. Important to me was the fact that the built-in tanks do not raise the center of gravity of the vehicle. Such fuel storage is also very convenient in a long term. No messing up with jerry cans means no gas odor, fewer problems at the border, etc. I purchased this tank directly from the manufacturer in South Africa. Via air freight it was sent to the airport near my home town.
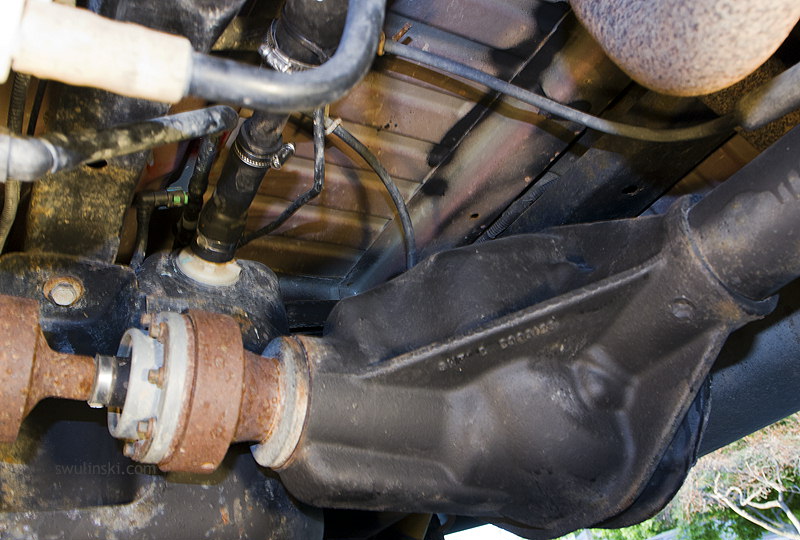
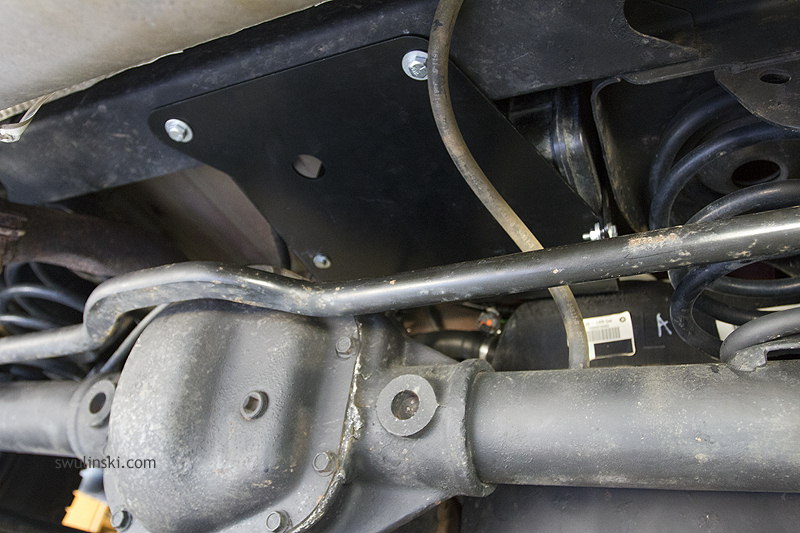
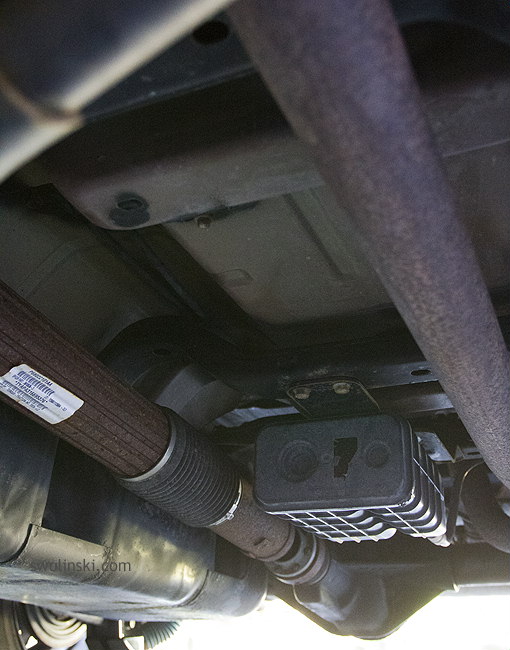
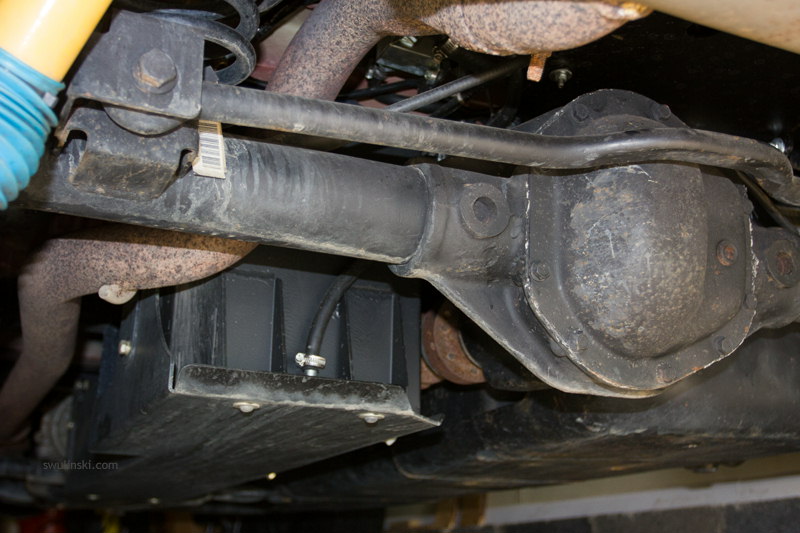
The manufacturer describes that installation time as 1.5 hours, but to be honest, it took me much more time. The tank is not very heavy, so one person can install it. The first step was to relocate fuel evaporation canister (EVAP) to the other place in order to get the necessary space for the new tank. Originally, the plastic container is located between the rear drive shaft and the exhaust pipe. Front Runners instructions suggest to get rid of it completely, but I do not think that it is the best solution. I purchased the relocation kit and installed EVAP canister above the rear axle. Moving canister to new location solves the problem of its vulnerability to damage when driving off-road

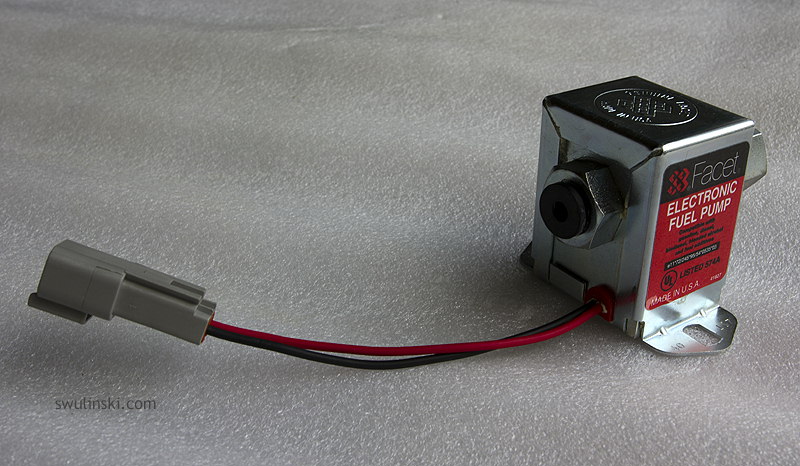
The next step was to disconnect the filler and breather pipes, and installation of tank brackets through the existing holes. It was also necessary to install the fuel pump supplied with the new tank. I ran the wiring in the split loom tubing from the engine compartment directly to the pump, installed relay and a switch in the cabin. The fuel pump was connected directly to the battery.
Front Runner tank comes with the guard. In fact, it means that, the skid plate is fixed to the body and tank itself sits almost loosely on it. The next step was not described in the installation manual. It was necessary to connect the EVAP canister hoses back into the system. I mimicked the original connection pattern. In addition, after consulting with the Front Runner engineers and obtaining their approval I skipped installation manual steps related to cutting the breather pipe and adding a new one in Y-shape. As it turned out, there is no need to make any modifications inside the fender behind the taillight as described in the manual. I connected all the hoses and breather pipe underneath, near the rear axle.

The auxiliary tank is connected directly to the main tank and sits at the same level. They are the communicating vessels. The Front Runner tank is designed in such a way that, despite the fact that it is first from the filler neck side, there is no need to fill it completely to allow filling of the main tank. In other words, when I buy only a few gallons of fuel at gas station, almost whole gas ends-up in the main tank. Only after the primary tank is filled up, gasoline goes to the auxiliary tank.
I am very pleased with this expansion. However, two issues bother me a little. First, there is occasional overflowing when filling up. This is because I had to remove check valve to make room for a new tank. I have plans to put the one-way valve back somewhere near filler neck. The second problem is the check engine light that sometimes goes on. That happens sporadically and only when my Jeep is parked uphill with both tanks full at the same time. After driving approximately 100 miles, the light goes off by itself. I was not able to detect any codes and I suspect that problem is caused by a different location of EVAP canister, which is much closer to the tanks. Fuel fumes must be stronger, I suspect and one of the sensors detects a false problem.
I am very satisfied with this improvement. However, two issues bother me a little. First, there is occasional overflowing at the gas pump. This is because I had to remove check valve to make room for a new tank. I have plans to put the one-way valve back somewhere near filler neck. Second is the check engine light that sometimes goes on. It happens sporadically and only when my Jeep is parked uphill for some time with both tanks full. After driving approximately 100 miles, the light goes off by itself. I was not able to detect any codes and I suspect that the issue is because EVAP canister is much closer to tanks now. Fuel fumes must be stronger and one of the sensors detects a false problem.